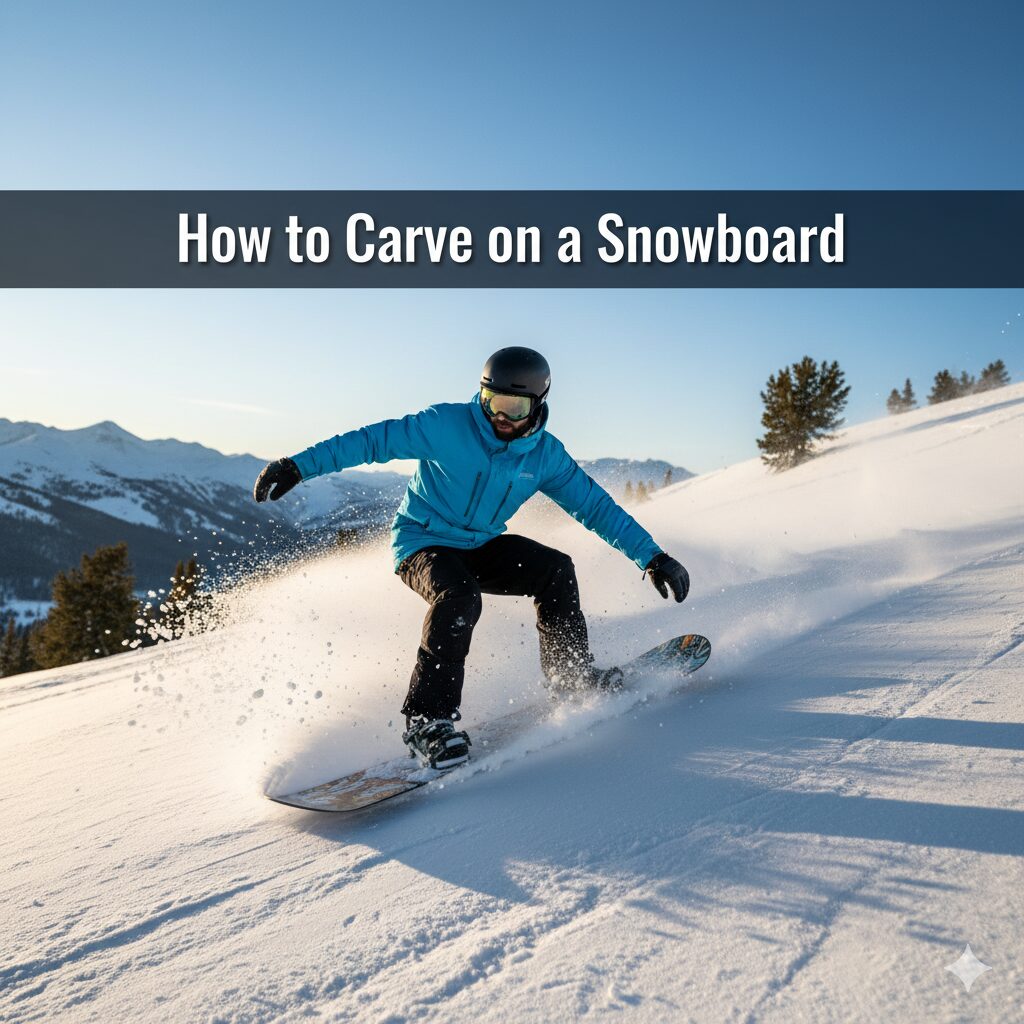
Mastering the Edge: The Definitive Guide on How to Carve on a Snowboard
Carving is, simply put, the reason snowboarding is fun. It’s the highest expression of control and speed. While many riders link turns by skidding across the slope—shedding speed and leaving a cloudy trail of snow—true carving involves turning solely on the edge of the board, leaving a clean, thin line in the snow that looks like it was cut with a knife. This allows you to maintain momentum, increase speed, and feel the ultimate G-force of a banked turn.
This skill differentiates a cruising intermediate from a high-performance expert. It requires patience, precise technique, and the right gear. Given the high speeds involved, understanding this technique is also paramount to safety, as improper technique is one reason snowboarding can be dangerous. This guide will walk you through the biomechanics, equipment setup, and step-by-step drills needed to execute a perfect, unskidded turn.
Chapter 1: The Prerequisite: Gear & Stance Setup
You cannot carve effectively with freestyle gear and a sloppy stance. Carving demands stiffness, precision, and power transmission. If you’re serious about this, invest in the right setup. This is often the biggest expense, so consider when is the best time to buy snowboarding gear to maximize savings.
1. Non-Negotiable Gear Requirements
- Boots (The Power Source): Your boots are the interface between your body and the edge. For carving, you need stiff boots (flex rating 7-10). Soft boots (flex 3-5) flex too much, causing a delayed power transfer, leading to a skidded turn. If your feet hurt when snowboarding, it could be the fit—check our guide on why do my feet hurt when i snowboard. Top carving boots include brands like K2 (check out our K2 snowboard boots review) or Vans (are vans snowboard boots true to size).
- Bindings (The Transmission): You need bindings with a high stiffness rating and a rigid highback to push against.
- Board (The Rail): Look for boards with stiff flex (6-8) and a camber profile or a hybrid camber profile. Camber provides the “spring” and stability needed to hold a powerful edge through the arc. Some high-end brands like Yes (are yes snowboards good) or DC (are dc snowboards good) offer excellent carving platforms.
- Tuning: A sharp edge is mandatory. Carving relies on the edge biting into the snow. Make sure you regularly maintain your base edge and side edge. Read our guide on why wax your snowboard—a fast base helps maintain momentum through the arc.
2. Stance Adjustments for Carving
Your stance must facilitate powerful lateral pressure and angulation.
- Angles: Carvers typically use positive angles on both feet (e.g., +18° front, +9° back). This forward-facing angle encourages pressure over the front edge and aligns your body to angulate into the turn.
- Width: A slightly wider-than-normal stance can help you get lower and achieve greater angulation.
- Forward Lean: Increase the forward lean on your highbacks. This forces your knees to bend and transfers ankle pressure directly to the heel edge, improving response time.
Chapter 2: The Biomechanics of the Carve (The Four Phases)
A perfect carved turn is a continuous cycle of four interconnected phases. It’s less about the board and more about moving your Center of Mass (COM) laterally across the board.
Phase 1: Initiation (Flexion and Edge Tilt)
Goal: Set the board on edge without rotation.
- Lateral Movement: The turn begins not by twisting your body, but by tilting your knees and ankles into the new direction of travel. Initiate the toe-side by driving your knees forward and down towards the snow. Initiate the heel-side by pushing your shins forward and down, flexing your ankles.
- Fall Line: Start your transition at the moment the board crosses the fall line (the steepest part of the slope). This is where you have maximum momentum, allowing the carve to feel effortless.
- Body Position: Maintain an upright posture with your shoulders parallel to the board. Flex your hips and knees equally.
Phase 2: Edge Engagement and Angulation
Goal: Transfer your COM directly over the engaged edge to resist the G-force.
- Angulation: This is the key carving concept. Angulation is bending your body at the ankle, knee, and hip joints to move your COM outside the boots. Imagine trying to touch your hand to the snow—but keeping your head and shoulders upright.
- Ankle Steering: Your boots and bindings transmit power from your ankles and shins. Drive your shins into the highbacks (heel-side) or drive your toes into the bindings (toe-side). This is where the stiffness of your boots truly matters.
- Knee Drive: The knee acts as the most powerful leverage joint. Drive your front knee aggressively into the turn.
Phase 3: Pressure Control and Sustaining the Arc
Goal: Maintain consistent, increasing pressure on the engaged edge through the steepest part of the turn (apex).
- Center the Pressure: As speed and edge angle increase, the G-force pushes you back towards the center of the board. You must counter this by moving your COM further outside the arc.
- Extension: Gradually extend your legs as you enter the apex of the turn. This pushes the edge deeper into the snow, increasing the radius hold and resisting the G-force. You should feel immense pressure building up under your feet.
- Sustained Angulation: Keep your hips and knees fully bent, creating maximum angulation. Your body should resemble the letter ‘C’ bending into the mountain. If your turn is wide enough, you are entering the realm of the “Eurocarve”—an extreme angle that requires protection (best impact shorts for snowboarding).
Phase 4: Completion and Release (The Transition)
Goal: Release the pressure cleanly and immediately transition to the new edge.
- Progressive Release: As you finish the arc and begin to control your speed, progressively reduce the edge angle by flattening your feet and extending your legs fully. The board will naturally accelerate out of the turn.
- Pivot to New Turn: When the board is flat, initiate the new turn immediately by flexing your hips and knees and tilting your entire body towards the new edge. This smooth, fluid motion distinguishes an expert from an intermediate.
Your body follows your eyes. When initiating a carve, look across the slope to where you want the apex of your turn to be, and not at the snow directly in front of your board. Carving requires commitment and speed, and looking ahead is the best way to maintain both balance and confidence.
Chapter 3: Carving Drills & Troubleshooting
Practice is essential. Never skip the drills. If you are struggling, remember that professional help is invaluable—ask yourself if are snowboard lessons worth it? The answer for carving is almost always yes.
Drill 1: The Sustained Traverse (Pure Edge Hold)
This is the most fundamental carving drill. It isolates the angulation and pressure control phases.
- Find a wide, groomed blue or black slope.
- Start on the heel edge, moving across the slope (traversing).
- Slowly increase your edge angle by driving your knees and hips toward the uphill side. Your goal is to move your COM further and further uphill.
- Hold the edge for as long as possible. The board should feel like it is gripping a rail. There should be zero skidding (no spray of snow).
- Repeat on the toe edge, driving your shins and hips downhill, pushing your boots into the snow.
Drill 2: The Fall-Line Connect (Steering with the Ankle)
This drill trains the initiation and release phases by focusing on precise ankle and knee control.
- Start linking slow, wide turns.
- In the initiation phase, focus solely on tilting the board by flexing the ankles and knees—do not rotate your shoulders or hips.
- Try to keep the board on edge as you cross the fall line (the steepest part). Let the edge pull you through the turn without any skidding.
- Focus on minimizing the time the board spends flat during the transition. The goal is to immediately transfer pressure from the release of one heel-side turn to the tilt of the next toe-side turn.
Troubleshooting Common Carving Failures
| Symptom | Root Cause | Solution |
|---|---|---|
| Skidding/Sliding Out | Not committing COM over the edge; too much rotation; soft gear. | Drive your hips further outside the board; increase angulation; buy stiffer boots (best snowboard boots). |
| Losing Edge at Apex | Insufficient pressure *after* initiation; extending the legs too early. | Wait longer to extend; aggressively drive your front knee into the turn; maintain high forward lean. |
| Unwanted Rotation/Spinning | Turning with the shoulders/hips instead of the knees/ankles. | Keep your shoulders aligned with the board’s axis; only turn your head; twist with the ankles. |
| Too Much Speed | Not completing the turn. | Complete the arc so the board points uphill before releasing the edge. Embrace the speed—it’s necessary! |
Chapter 4: Advanced Techniques and Carving Gear Reviews
Once you master the basic four-phase turn, you can increase speed and angulation. Advanced carving is about high-speed geometry, reducing the turn radius, and maintaining control in challenging conditions.
1. Advanced Carving Concepts
- Fore/Aft Pressure: Use fore/aft pressure (front foot vs. back foot) to control the turn radius. Pressing the front foot lengthens the carve radius; pressing the back foot tightens the carve radius.
- Extension into the Fall Line: Instead of flexing to initiate, initiate by extending your center of mass forward over the nose as you cross the fall line. This accelerates the board and sets a lightning-fast edge.
- High-G Turns (Eurocarves): For deep trenches where your hand can skim the snow, the angulation is so extreme that you must counterbalance by tucking your weight back under your COM. This is an advanced movement that generates serious G-forces—be protected!
2. Essential Gear for High-Performance Carving
At high speeds, you need gear that offers precise feedback and maximum protection. Look for deals—check guides on how expensive is snowboarding and how to save money.

Vans Aura Pro Snowboard Boots
Carving absolutely requires stiff boots. The Vans Aura Pro (or similar models like the K2 Boundary) offers a mid-to-stiff flex that provides excellent heel hold and immediate energy transfer. This means the second you flex your ankle, the board reacts—crucial for maintaining a clean arc at speed. Remember, sizing is key: check our guide on are vans snowboard boots true to size before purchasing.
Check Price on Amazon
Anon M4 Toric Snowboard Goggles
At high speeds, vision is everything. Poor visibility is dangerous. These top-tier toric goggles (best snowboard goggles) offer a wide field of vision, crucial for looking ahead and across the slope to set your turn. They also come with interchangeable lenses for variable conditions—essential for maintaining edge control on ice versus powder.
Check Price on Amazon
Demon Complete Ski and Snowboard Tuning Kit
Carving is impossible without sharp edges and a fast base. This tuning kit includes tools for edge maintenance (file guides, stones) and waxing supplies (iron, wax). Regular tuning not only improves your performance but is a fundamental part of board safety and longevity. Remember the importance of maintaining your base, detailed in why wax your snowboard.
Check Price on Amazon
Triple Eight Bumsaver Padded Impact Shorts
Carving is high-speed, high-consequence riding. When you lose an edge at speed, the fall is hard and often lands you directly on your hip or tailbone. These impact shorts (best impact shorts for snowboarding) provide dense foam padding that significantly reduces the risk of bruising or serious injury. Paired with a top-rated helmet (best snowboard helmets), this is smart riding.
Check Price on AmazonChapter 5: Final Thoughts & General Snowboarding FAQs
Why Carving Makes Snowboarding the Best Sport
Carving is the purest form of control and acceleration. It transforms the simple act of turning into a geometric dance with gravity. This technical finesse is one reason snowboarding is the best winter sport, offering a level of physical engagement that contrasts with other snow sports. The feeling of pulling Gs through a carve is an experience that makes the cost (how expensive is snowboarding) and effort entirely worthwhile.
| General Snowboarding Questions | Expert Advice |
|---|---|
| Why do people wear large mitts/gloves? | Mittens are generally warmer because they allow your fingers to share heat. They are also often preferred by freestyle riders for their ease of grabbing. Compare options in our mittens vs gloves for snowboarding guide, but note that why snowboarders wear mittens is mostly about comfort and warmth. |
| How important is my initial gear purchase? | Very important. While best snowboard bags can wait, your boots are critical. Get the best you can afford, and make sure they fit perfectly. Never compromise on a helmet. |
| What about advanced gear brands? | Many excellent brands exist. Boards often cater to specific niches. For instance, brands like Gilson (are gilson snowboards good) often focus on unique base designs that can aid specific types of carving. |
| I want to ride in the deep snow. What’s the link to carving? | While carving is primarily a groomed slope skill, the edge control transfers directly to powder riding. For true deep snow, explore guides on backcountry snowboarding. Carving skills are still valuable for traversing and controlling speed on steep terrain. |
| Is it worth traveling abroad for snowboarding? | Yes, absolutely. The scale and diversity of terrain in the top european ski resorts and other advanced spots (snowboarding in colorado, best snowboarding destinations) offer challenges not found everywhere. The variety of snow can make carving feel entirely different. |
| What if I’m a beginner? | Start with the basics: linking skidded turns. Once you are comfortable controlling speed, the transition to carving is the next logical step. If you’re a true novice, check out snowboarding resorts for beginners before tackling carving. |
| Is snowboarding really better than skiing? | That’s a subjective question! We think so. Many feel the fluid, surfing motion and deep carving angles make why snowboarding is better than skiing an easy case to make. But the choice is yours. |
| I’ve heard about lace length. Is that important? | Boot laces are a small detail, but important for ensuring proper fit. You can find details on how long are snowboard boot laces if you need replacements, but focus on the BOA/lace tension for heel hold first. |
| Where can I find general tips and tricks? | You can explore more technical and lifestyle guides at snowboardchamp.com for everything from learning to riding like a champion. |


