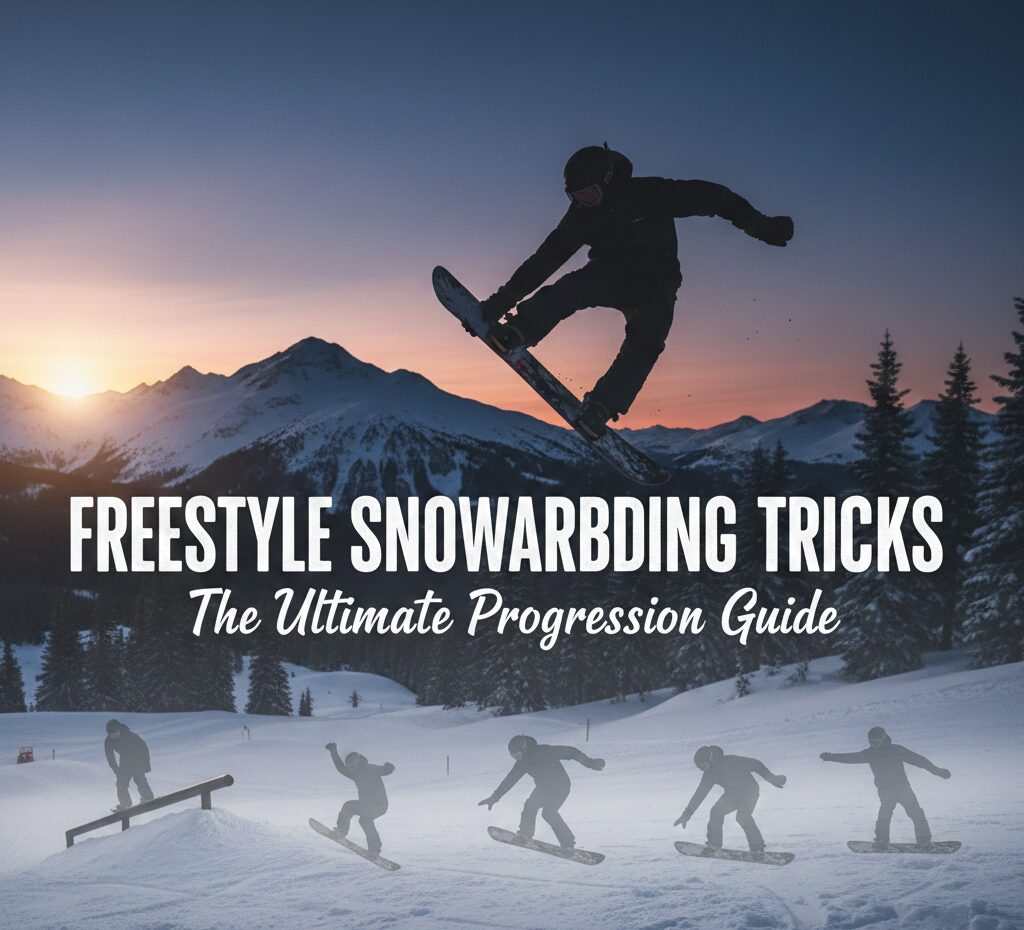
Freestyle Snowboarding Tricks: The Ultimate Progression Guide
Stop watching from the sidelines. This step-by-step ladder breaks down the exact path from your first ollie to spinning 360s, with safety and style at the core.
1. The Foundation: Comfort Before Chaos
You must be a confident rider on all terrains before hitting the park. Master switch riding (riding with your opposite foot forward) at least on gentle slopes. Have absolute control over your edges—you need to be able to stop and turn on command, in any condition. A solid, centered stance is non-negotiable. Spend time just riding around the park, observing features and getting a feel for the flow.
Pro Tip: Your gear matters. A true twin-shaped board with a centered stance is ideal. For a deep dive on board shapes, check out our guide on directional vs twin snowboards for control and switch riding.
2. Master the Ollie: Your Launchpad Trick
The ollie is the fundamental pop trick that powers almost everything else. It’s a spring-loaded motion: crouch down, then explosively straighten your legs while sliding your front foot forward to level the board in the air. Practice on flat ground, then on small rollers. The goal is a controlled, clean pop that gets your entire board off the snow. Beginner
3. Buttering Basics: Press for Style
Butters are ground-based maneuvers that build board control. Start with a nose press: shift your weight heavily over your front foot while lifting your tail. Hold it, then release. Then learn the tail press. Focus on smooth weight transfer, not jerky movements. This teaches you to manipulate the board’s flex and is the gateway to spins on the ground. Beginner
4. First Box Slide: Conquer Your First Feature
Start with a wide, low, flat box. Approach straight with moderate speed in your regular stance. Ollie slightly onto the box, keep your board perfectly flat (no edges!), and look to the end. Stay relaxed with knees bent. Ollie off cleanly at the end. The key is committing to the slide and avoiding the instinct to turn. Beginner
5. Pop & Shuvits: Start the Rotation
A pop shuvit is a 180-degree board spin beneath you while your body stays mostly facing forward. On flat snow, pop an ollie and use your back foot to “scoop” the tail around. Land with the board under you. A frontside shuvit spins toe-side. This builds aerial board awareness. Intermediate
6. Frontside 180: Your First Aired Spin
A frontside 180 is a spin where your chest faces the direction of the spin as you take off. From a heel-side approach, wind up your shoulders slightly, ollie, and rotate your head and shoulders frontside (toeside rotation). Your board will follow. Spot your landing and absorb the impact. Practice off a small side hit first. Intermediate
7. Backside 180: The Complementary Spin
Often trickier for new spinners, the backside 180 involves rotating away from your takeoff direction. From a toe-side approach, initiate the spin by looking over your back shoulder. It requires more commitment as you can’t see your landing for part of the spin. Trust the pop and your setup. Intermediate
8. First Rail: Leveling Up from Boxes
Move to a low, wide, round rail (a “rainbow” or “tube” rail). The technique is similar to a box, but the narrow surface demands more balance. Approach straight, ollie on to a 50-50 (both feet centered on the rail), keep your weight centered, and look ahead. Commitment is key—hesitation causes slips. Start by just tapping it with a boardslide if a 50-50 feels daunting. Intermediate
9. First Jump: Straight Air with Confidence
Start with the smallest tabletop jump in the park. Focus on a smooth, controlled approach in a straight line. Pop evenly off the lip (don’t just ride off), bring your knees up slightly for stability in the air, spot your landing, and absorb the impact with your legs. The goal is a stable, calm “straight air.” Practice this endlessly before adding any spin. A great way to prep is using a balance board for snowboarders to improve your core stability. Intermediate
10. Frontside 360: The Milestone Spin
This is the classic first full rotation. It builds directly on your 180. You need more pop and a stronger wind-up of the shoulders. Initiate the spin hard with your head and upper body, tuck your knees in to spin faster, spot your landing halfway around, and unwind for a smooth landing. Use a medium-sized jump with a good lip. Advanced
Pro Tip: Understanding the mechanics of pop is crucial for bigger spins. Dive into the tail pop mechanics of the ollie to generate more height and time for your rotations.
11. Boardslides: The Gateway to Rail Mastery
Once 50-50s are easy, approach a low box or rail at a slight angle (about 30 degrees). Ollie and turn your board 90 degrees so the middle of the board contacts the feature perpendicularly. Keep your knees bent and your body centered over the feature. To exit, rotate your shoulders back to straight and land. This teaches axis control. Intermediate
12. Style & Fluidity: Making It Look Good
Style separates a trick from a *great* trick. It’s about smoothness, confidence, and making hard things look easy. Focus on clean takeoffs, controlled grabs (start with an Indy or Melon), and quiet, stable landings. Watch the best snowboard movies of all time to study the style of the pros. Link tricks together—butter to 180, 50-50 to boardslide. Freestyle is about creativity, not just a checklist.
Remember, progression isn’t linear. Some days you regress. Film yourself, analyze, and focus on one element at a time. The park is a playground—have fun with it.
Freestyle Snowboarding Tricks: Your Questions Answered
What is the easiest freestyle snowboard trick to learn first?
The ollie is the absolute foundation. After that, a straight-air off a small jump or a 50-50 slide on a wide box are the most accessible first “park” tricks. Master these before adding rotation.
How can I overcome fear when trying my first jump?
Start impossibly small. Use the smallest side-hit or roller. Focus on the technique (pop, knees up, spot landing) not the consequence. Wear protective gear (helmet, impact shorts). Speed is your friend—too slow causes instability.
Why do I catch an edge when trying to slide a box or rail?
You’re not keeping your board flat. The moment you subconsciously engage your heel or toe edge, it catches. Commit to the slide, keep your weight centered, and look at the end of the feature, not your feet.
What’s the best grab to learn first?
The Indy Grab (back hand grabs the toe-edge between your feet). It’s natural and helps stabilize your body in the air. Practice bringing your knees up, not reaching down excessively.
How important is switch riding for freestyle?
Crucial. At least 50% of park riding and landing spins happens switch. It makes you a well-rounded rider, improves balance, and is necessary for spins over 180. Dedicate time every session to riding switch.
What’s the progression after a 360?
Solidify both frontside and backside 360s. Then add a grab. Next steps: 540s, Cab spins (switch takeoff), learning different grabs, taking spins to rails (270 on, 450 out), and trying a backside 180 or 360 off a rail.
Do I need a special snowboard for freestyle?
A true twin shape with a centered stance and a medium-soft to medium flex is ideal for learning. Park-specific boards often have tech for durability and forgiveness on landings, but a good all-mountain twin works great to start.
How can I spin faster in the air?
It’s all about the wind-up and the tuck. Wind your shoulders more on takeoff, and pull your knees into your chest (tuck) to reduce your rotational inertia. Spot your landing and extend your legs to slow the spin for landing.
Is it better to learn spins on jumps or off knuckles/side hits?
Start on side hits or the “knuckle” of a jump. They provide a steep, quick lip for pop without a big gap to clear. This lets you focus on the spin mechanics without the fear of clearing a large landing.
How do I prevent wrist injuries when learning freestyle?
Learn to fall correctly: don’t reach out with straight arms. Tuck and roll onto your forearms and shoulders. Wrist guards are highly recommended, especially when learning rails and jumps. They can prevent common FOOSH injuries.


