
How to Stop Heel Lift in Snowboard Boots: The 2026 Master Guide
In the world of snowboarding, precision is the difference between a perfect carve and a painful fall. Heel lift is the silent performance killer that haunts both beginners and seasoned pros. When your heel detaches from the footbed of your boot, you lose the direct mechanical link between your brain and your board’s edge. This guide dives deep into the physics, biomechanics, and technical gear solutions required to achieve a true “locked-in” feel.
Achieving zero heel lift requires a multi-layered approach. First, internalize that your boots should feel tighter than any footwear you’ve ever owned. Second, utilize modern volumetric filler technology like high-density J-bars. Third, ensure your bindings are adjusted to pull the boot down and back simultaneously. If your heel moves even 2 millimeters, your response time is lagging by nearly 15%—a massive deficit in technical terrain.
Why Does Heel Lift Happen? (Deep Technical Diagnosis)
Understanding the “why” is essential before applying the “how.” Heel lift isn’t just about a loose lace; it’s a complex interaction between boot volume, foot anatomy, and material degradation. In 2026, we categorize these issues into three primary technical failures: Volumetric Mismatch, Kinetic Breakdown, and Biomechanical Instability.
1. Kinetic Breakdown (The Pack Out)
Every snowboard boot liner is an engineered foam component designed to compress. However, the “pack out” process is often misunderstood. As the EVA (Ethylene Vinyl Acetate) foam is subjected to body heat and the repetitive mechanical stress of carving, the air pockets within the foam collapse permanently. A liner that provides 15mm of cushioning on day one might only provide 8mm on day twenty. This 7mm difference is exactly where heel lift begins. In professional circles, we call this “volumetric loss.” Without intervention, your boot becomes a hollow shell that fails to translate your movements into board pressure.
2. Volumetric Mismatch
Most riders have an “average” foot shape, but snowboard brands design for specific “lasts” (the 3D mold of a foot). If you have a low-volume ankle—meaning the area around your Achilles tendon is thin—even a perfectly sized boot in length will have too much “dead space” around the heel. This creates a vertical vacuum. When you lean forward to engage your toe-side edge, the vacuum allows the heel to rise before the boot shell begins to tilt. This lag is the root of most calf fatigue, as the muscle must work twice as hard to pull the board up.
3. Biomechanical Instability
This is where the foot itself is the culprit. When you apply pressure to your toes, your arch naturally wants to collapse (pronate). As the arch drops, the foot actually elongates and the heel narrows. This “foot spread” creates a gap at the back of the boot. Without a structured footbed to hold the arch in place, the foot becomes a shape-shifter inside the boot, making it impossible to maintain a consistent heel lock. High-quality aftermarket insoles are no longer optional for serious riders; they are a fundamental structural component of the boot system.
Step-by-Step Solutions to Fix Heel Lift
-
The J-Bar and L-Pad Revolution
J-bars are the most effective mechanical intervention available. These are essentially “C” or “J” shaped pieces of adhesive foam that are placed on the liner of the boot. They are designed to sit right behind the ankle bones (malleolus), creating a physical shelf that the ankle bone cannot move past. In 2026, we recommend using variable-density foam. Place the J-bar on the outer shell of the liner, not against your skin. This ensures the pressure is distributed across the boot shell, locking the liner into the shell and your foot into the liner simultaneously. It effectively reduces the “volume” of the ankle pocket without restricting blood flow to the rest of the foot.
-
Advanced Butterfly Wrapping
For those with severe heel lift, a Butterfly Wrap is the “heavy artillery.” This is a single, large piece of foam that wraps around the entire back of the heel and extends forward toward the midfoot. It serves two purposes: it pushes the heel forward into the front of the heel pocket and narrows the width of the heel cup. This is particularly effective for riders with narrow heels but wide forefeet who are forced to buy wider boots. By “filling the void” in the rear, you maintain the comfort in the toe box while achieving a race-like lock in the back. Always ensure the wrap doesn’t pinch the Achilles, which can lead to tendonitis.
-
Structured Footbeds (The Foundation)
A boot is only as good as the floor it’s built on. Standard factory insoles are flat, providing zero support. When your arch collapses, your heel moves. By installing a rigid or semi-rigid footbed (like Remind or Superfeet), you lock the heel into a “cup.” This cup prevents lateral (side-to-side) and vertical movement. Furthermore, a proper footbed realigns your kinetic chain. If your foot is stable, your ankle is stable, which means your heel stays where it belongs. This also mitigates the “burning calf” sensation by allowing the skeletal system to take the load instead of the muscles.
-
Zonal Lacing and BOA Tensioning
Modern lacing systems like Double BOA or Zonal Speed Lacing allow you to isolate the tension. To stop heel lift, you need the “upper” zone of the lower foot (the instep) to be tight. This is the area that pushes the heel back into the corner of the boot. Many riders make the mistake of overtightening the very top of the boot (around the shin), which actually encourages heel lift by creating a pivot point. Instead, focus on the tension over the top of the foot. This “downward” pressure is what keeps the heel seated during aggressive toe-side carves.
-
Binding Geometry Optimization
Bindings are the final link in the chain. If your binding’s ankle strap is too thin or positioned too low, it won’t exert the necessary force to keep the boot seated. Adjust your strap length so the “sweet spot” (the thickest part of the padding) is centered over the boot’s tongue. If your bindings allow for it, move the ankle strap mounting points to a higher position on the heel hoop. This changes the pull angle from “forward” to “down and back,” which is the gold standard for heel retention.
Essential Gear to Banish Heel Lift
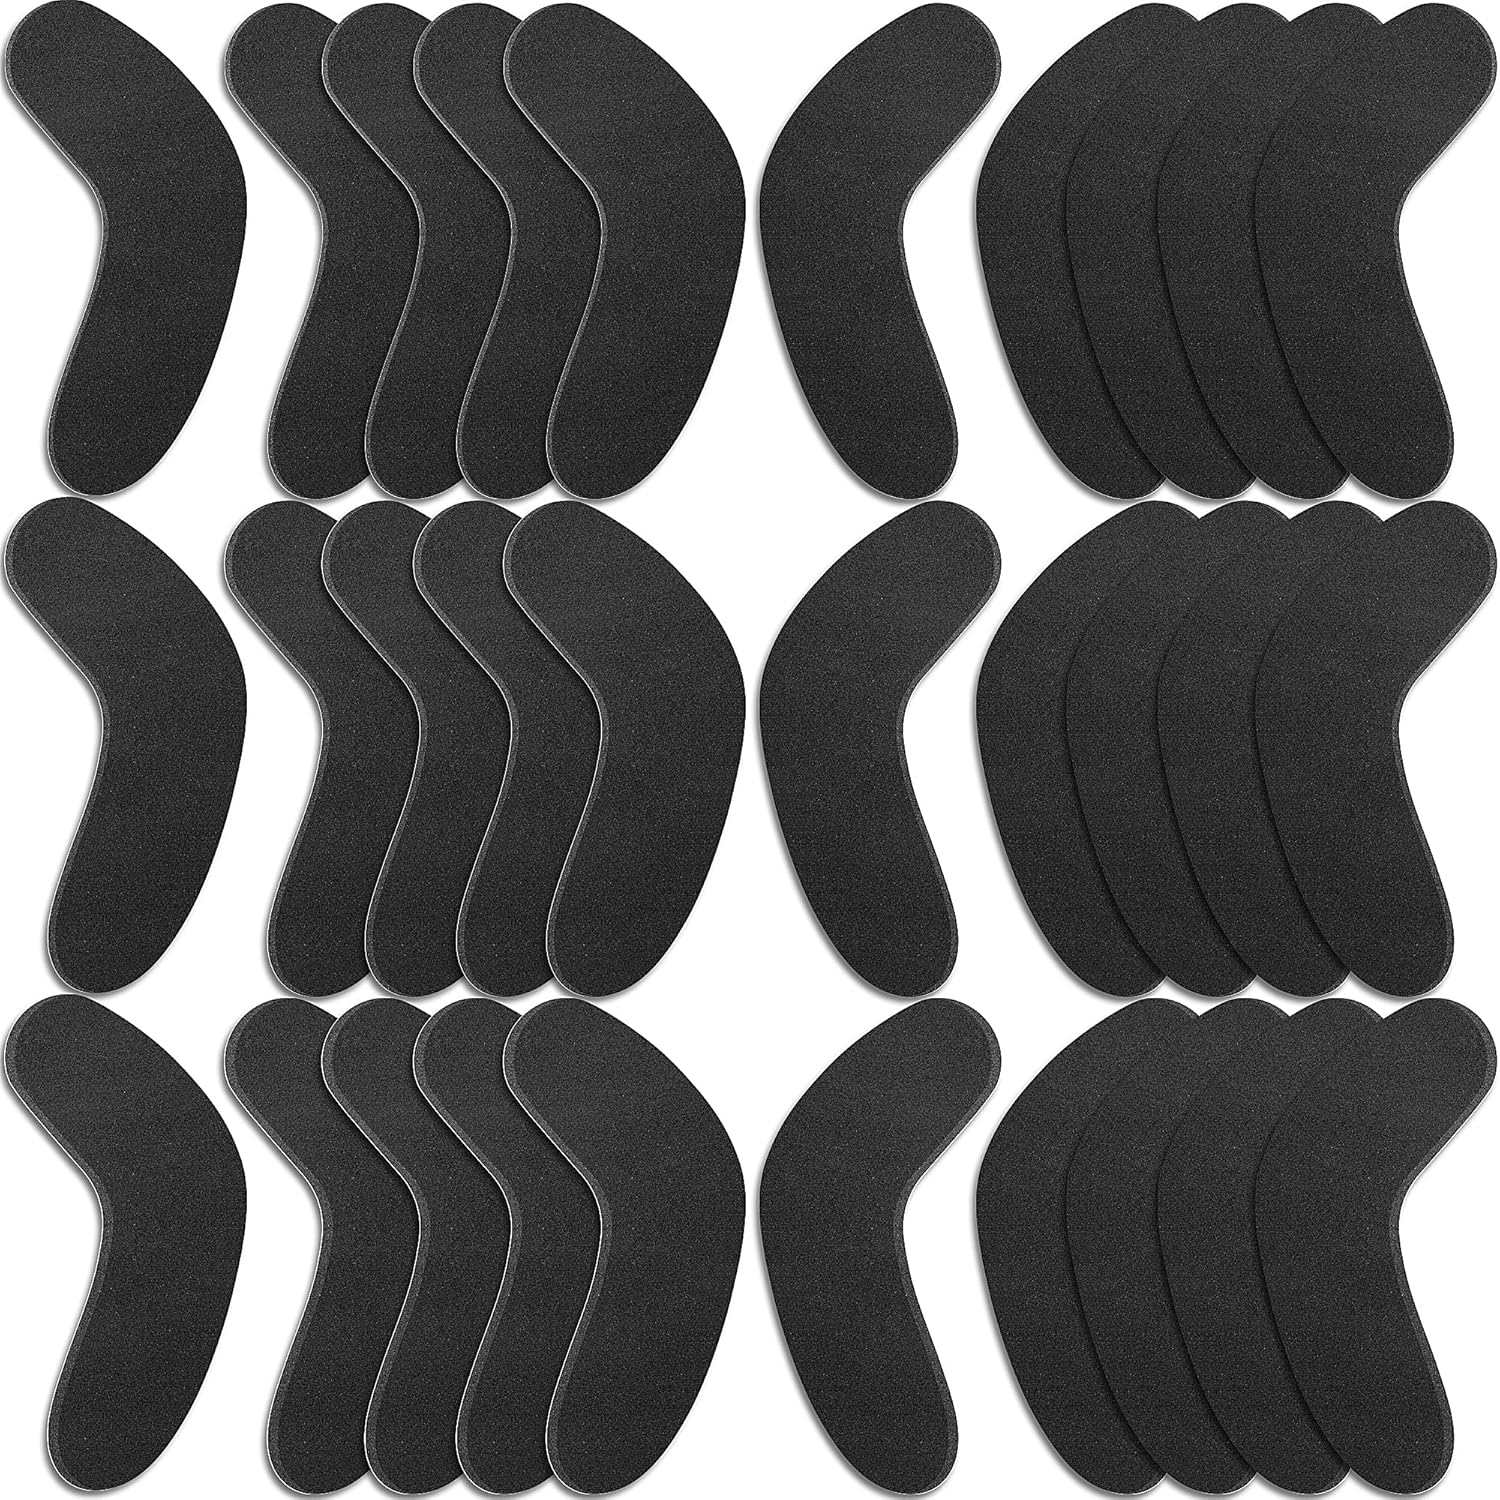
Precision Foam Kit
The ultimate DIY solution for custom boot fitting. Includes varied J-bar thicknesses to customize your heel hold perfectly.
View on Amazon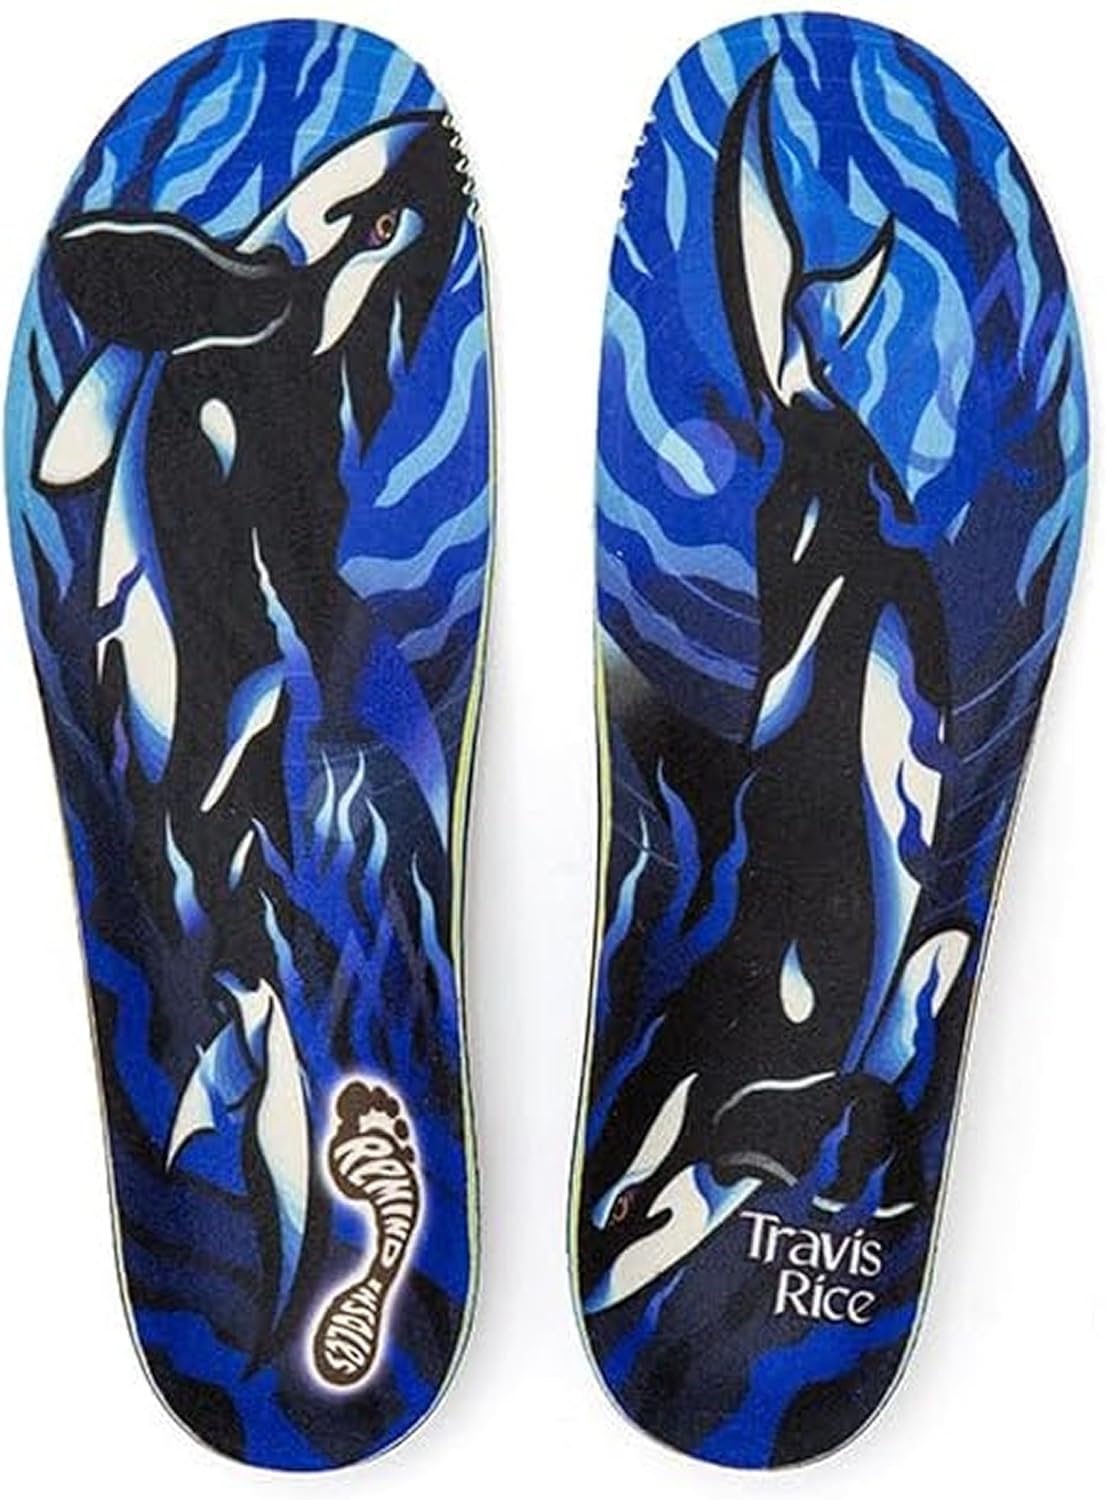
Remind “Cush” Insoles
The 2026 choice for pro riders. Bio-mechanical arch support that prevents foot elongation and secures the heel cup.
View on Amazon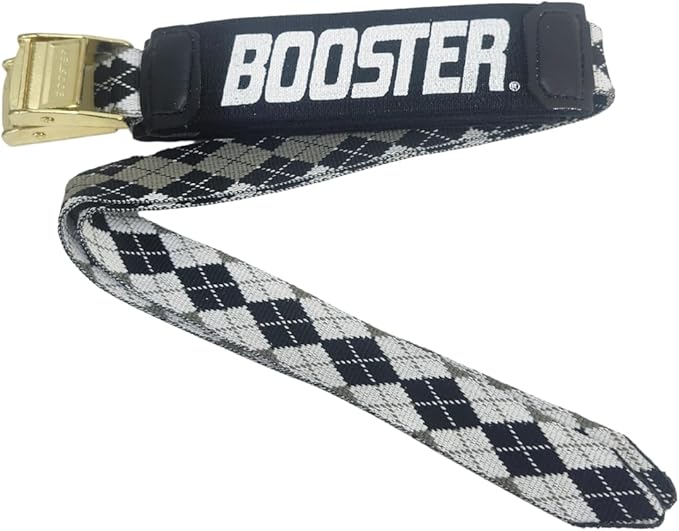
Dynamic Booster Strap
Eliminate the gap between your shin and the boot tongue. This ensures every movement is instantly transmitted to the board.
View on AmazonFrequently Asked Questions (FAQs)
Ideally, zero. However, in a soft-flex freestyle boot, 1-2mm is acceptable. In a stiff freeride or carving boot, any perceptible movement will degrade performance and should be addressed immediately.
No. This is a common myth. Thicker socks actually reduce “board feel” and can cause your foot to sweat, making the inside of the liner slippery, which actually increases heel lift. Stick to thin, moisture-wicking snowboard socks.
While duct tape works in an emergency, the adhesive often fails due to the heat generated by your feet. Use the pressure-sensitive adhesive provided with the pads or a high-grade contact cement for a permanent bond.
If you find yourself tightening your BOA or laces 3-4 times a day just to feel secure, or if there is a visible gap between your foot and the liner that wasn’t there when new, your liners have likely reached their end of life.
It can be. Beyond the lack of control, heel lift causes your toes to “claw” the footbed to maintain balance. This leads to foot cramps and premature fatigue, which increases the risk of injury during the final runs of the day.
Heat molding is best for removing pressure points (widening), not for shrinking a boot. If your boot is too big, heat molding again might actually make the foam more compressed and worsen the lift.
Yes. Brands like Vans often have a wider heel cup, while brands like Salomon or K2 tend to have narrower, more contoured heel pockets. Always choose the brand that matches your foot’s “volume.”
Shin bang occurs when there is a gap between your leg and the boot tongue. When you lean forward, your shin slams into the tongue. This usually happens in boots that are too large, which is the same root cause as heel lift.
It’s difficult because you can’t permanently modify the liners. However, using your own high-quality insoles and wearing proper socks can significantly improve the fit of a generic rental boot.
If you have added J-bars, upgraded insoles, and tightened your bindings, yet your heel still moves more than 5mm, the boot is fundamentally the wrong size or shape for your foot. It’s time for a professional fitting.
Conclusion
In 2026, we have the tools and the anatomical knowledge to ensure no rider has to suffer through a sloppy boot fit. Heel lift is a solvable engineering problem. By systematically addressing volume, stability, and tension, you can transform your riding experience. A locked-in heel provides the confidence to charge harder, carver deeper, and stay on the mountain longer. Don’t let a few millimeters of foam stand between you and your best riding season yet.


